


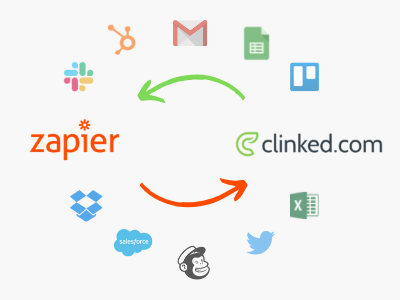
Wouldn’t it be great if you could automate tasks between your Clinked client portal and other third-party application services that you use day to day? We are excited to announce that this will now be possible after the release of our latest integration with Zapier!
This highly requested integration that you have all been waiting for is finally here. In this blog post I will be showing you how you can gain early access to the integration, as well as how to start creating automation's between Clinked and other applications.
What is Zapier?
If you don’t know already, Zapier is a tool that connects thousands of different popular apps, allowing you to automate tasks between them – as a result saving you tons of time in your daily working life. You will see in this blog post how simple it is to create a workflow using Zapier, all it takes is a few clicks - no coding skills required!
How to access the Zapier integration?
Our Zapier integration is now public, so you can access it directly from Zapier and begin automating your tasks. You will need to create an account with Zapier if you haven't got one already.
Step 1: Login to your Zapier account
Once you have received an invite the first step will be logging in to your Zapier account, enter your account details and select Continue, or if you don't already have one you can Sign up.
Step 2: Start creating Zaps
- In the top right corner select Make a Zap.
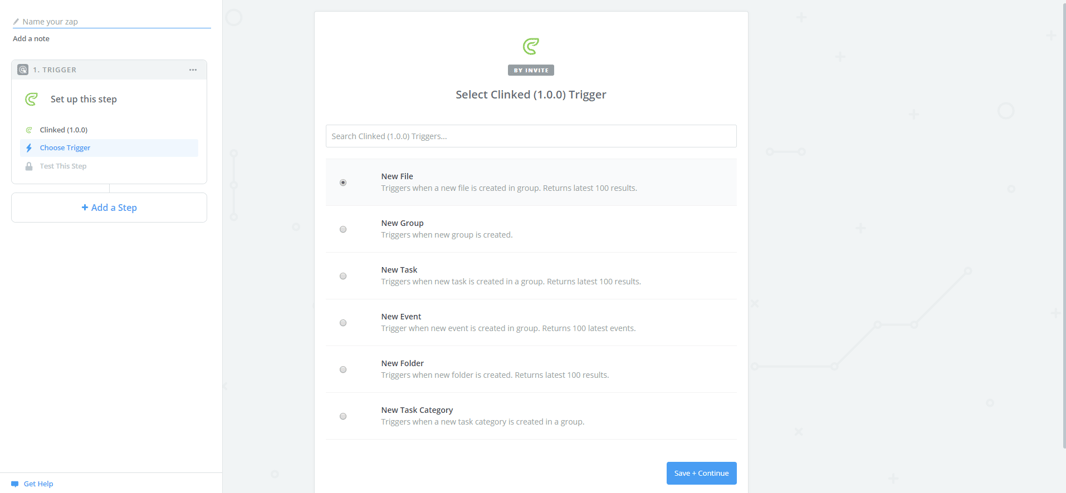
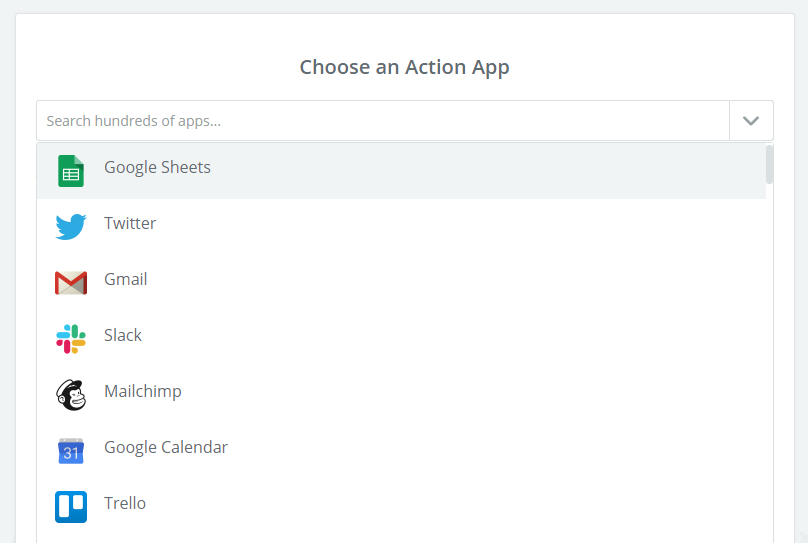
- Next choose the app that you would like to initiate an action, you can choose Clinked, or if you would like another app to trigger an action within Clinked you can search for it using the search bar.
- Select a trigger (an action that will initiate a different action in another app), then Save + Continue.
- You will then be asked to connect an account, choose Connect an Account and then login using your Clinked credentials.
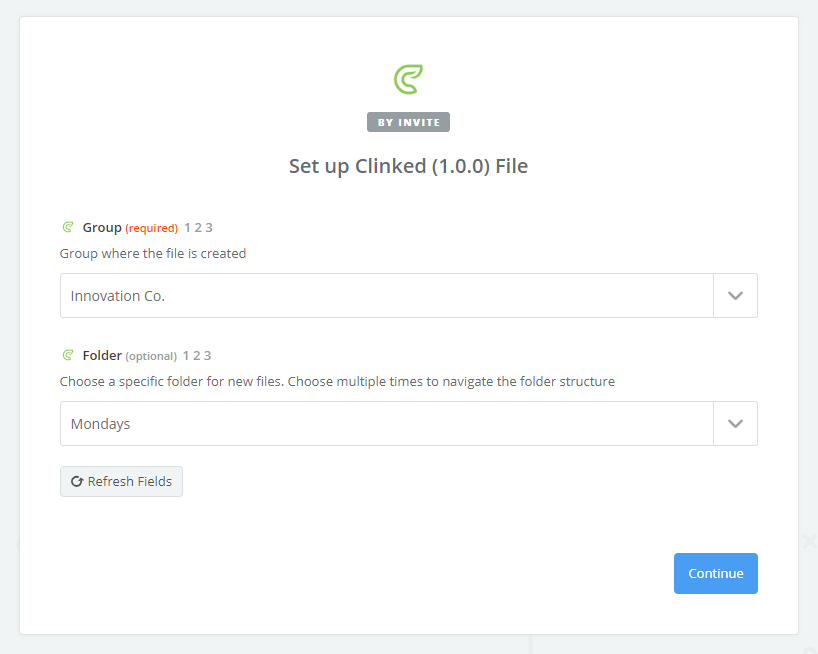
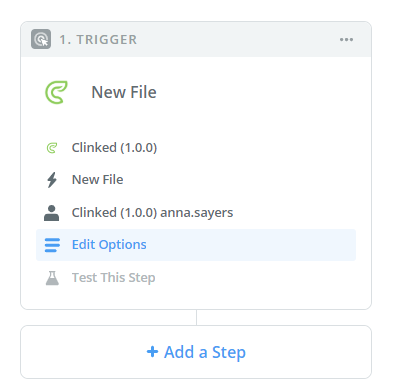
- Once your account is connected you'll be asked to set up trigger options, specify as required and then click Continue.
- Next, you need to set up an action, choose + Add a Step then Action/Search.
- Select the application where the action will take place based on your trigger, if you would like your trigger to initiate an action within Clinked then select Clinked, or use the search bar to find another application.
- Select an Action (this is the step that will take place after your trigger occurs) then choose Save + Continue.

- If you haven't previously connected the selected app then you will need to sign in, enter the credentials for your account with the app then choose Save + Continue.
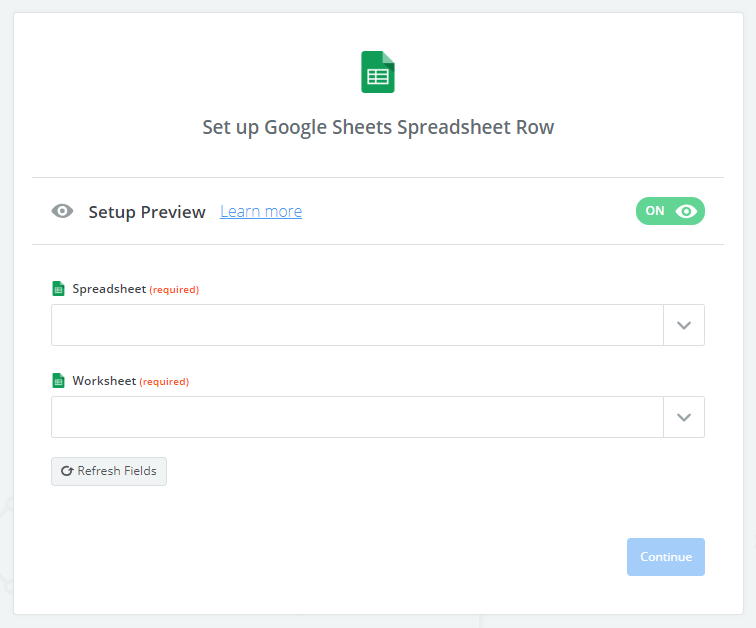
- Next you will need to set up a template for the action – add the necessary details then select Continue.
- Finally, you can test your zap if needed, or you can choose Skip Test and select Finish.
We hope this new Integration makes your experience with Clinked an even better one. As always, if you have any questions, you can get in touch at support@clinked.com!
Clinked offers customized and secure portals for file sharing, task management and collaboration. Clients and team members can access their documents, discussions, events, tasks and more – all from within a centralized environment. Get started today.


Let Us Know What You Thought about this Post.
Put your Comment Below.